Welcome to the first post in a new series here on The Travel Hack! I love a good series of posts and I’m excited to start sharing monthly updates from my garden.
As you guys know, we’ve recently finished extending and renovating our house so we’re finally at the stage where we can just enjoy it. One area of our home we’ve never spent much energy on is the garden. We knew the extension would make a mess of the garden and we didn’t really have the time, energy or money to spend on it. But now we do and I couldn’t be happier with my new garden project!
So here is the first monthly instalment with all the planning and prepping I’m doing!
Porcelain patio
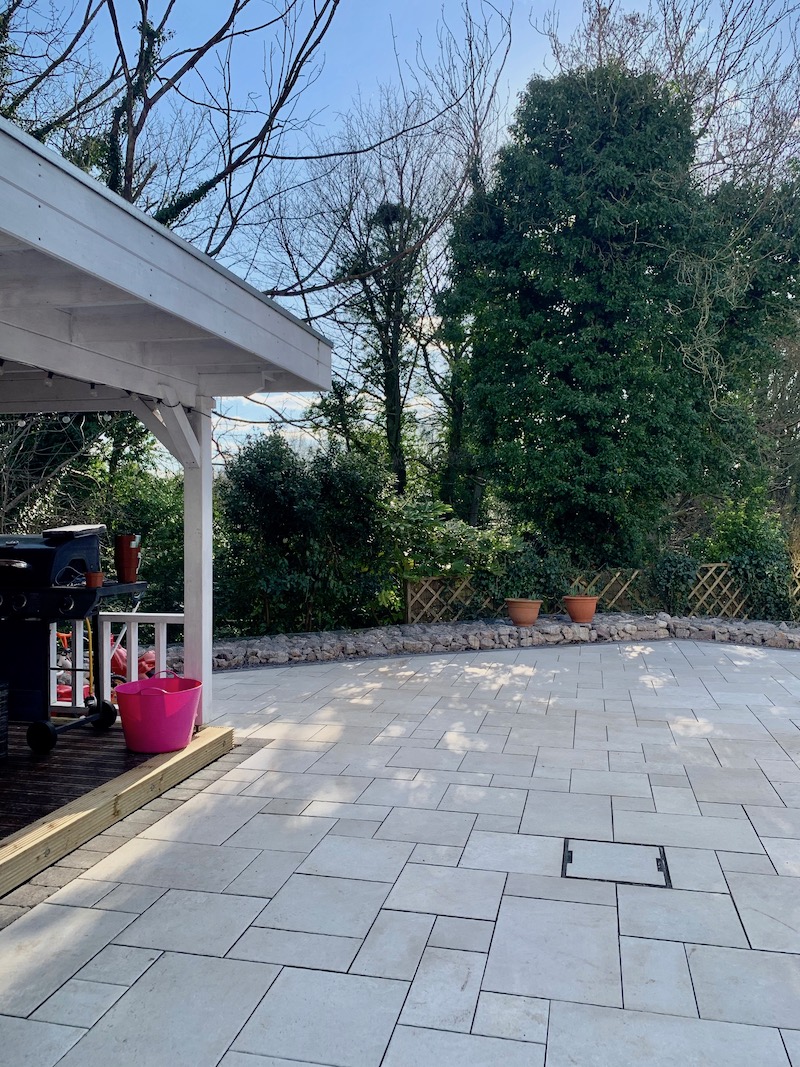
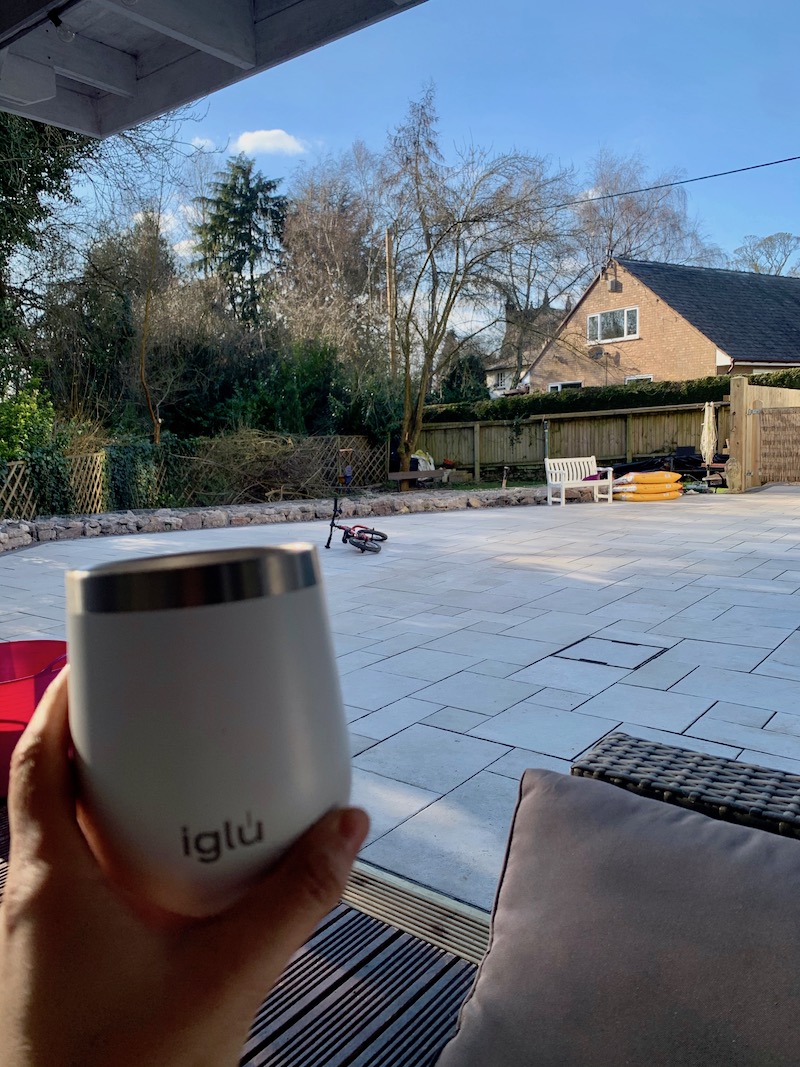
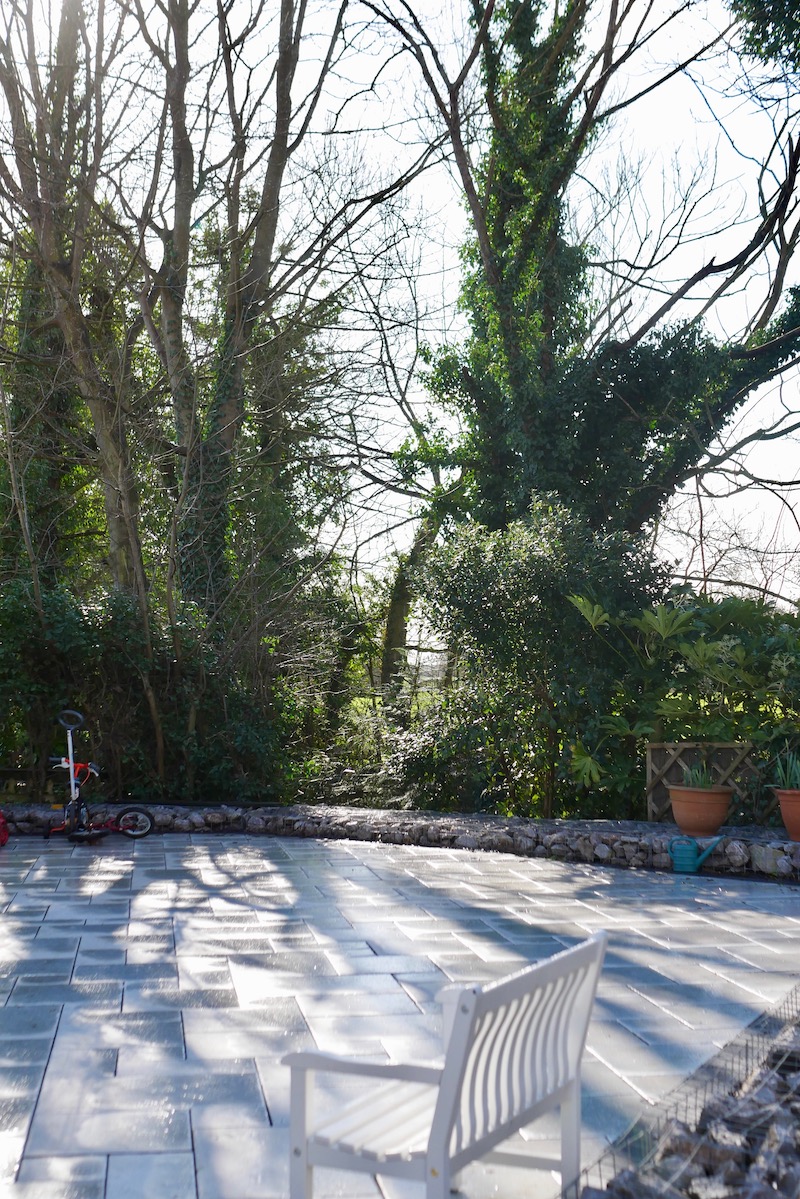
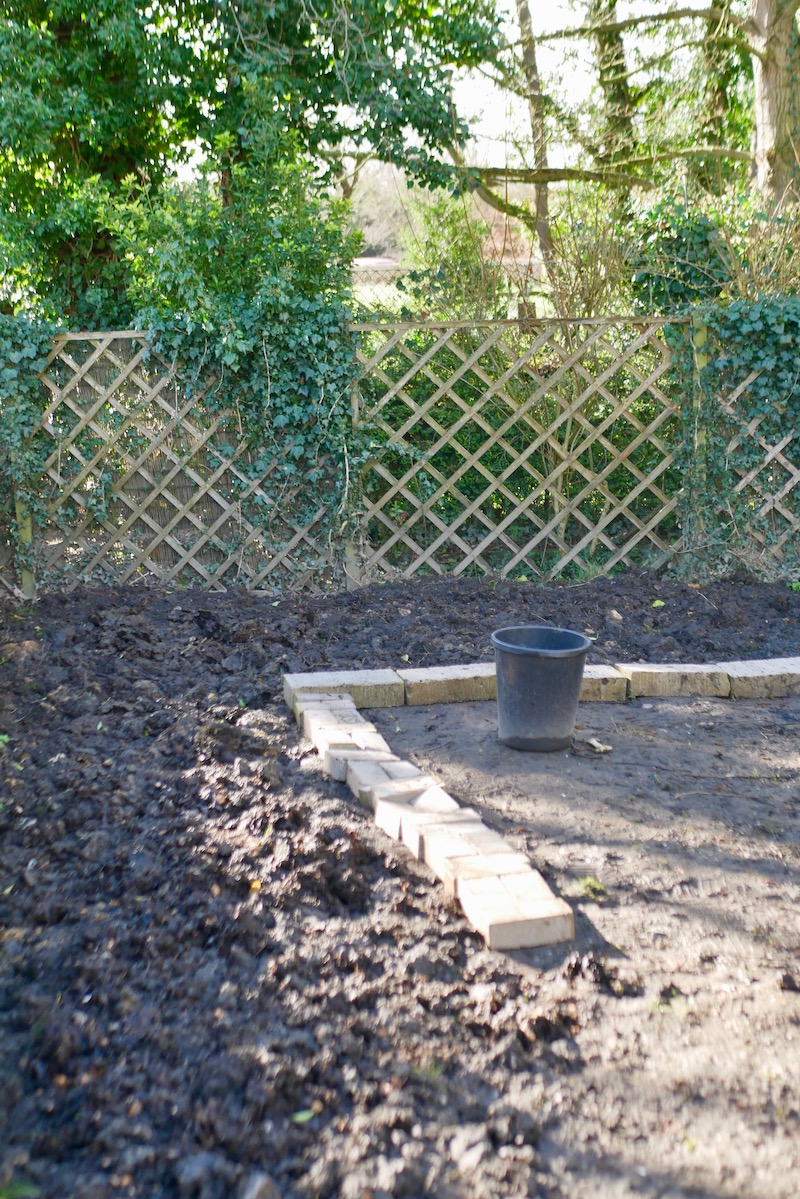
We’ve recently finished landscaping the garden which has involved building a large, raised patio.
The patio is edged with stone cages because our garden floods, so building a wall around the patio wasn’t an option. The flood water will be able to flow through the stone cages without too much damage or disturbance to the patio (well, that’s the plan anyway!) whereas a regular wall would have just broken down quickly. We wanted it to be raised so it’s level with the house and I’m so pleased with the finished result. It feels so much bigger and is such a great use of the space.We opted for porcelain paving slabs in a light grey and edged with black. Porcelain slabs are quite expensive in comparison to something like sandstone but this is our forever home so we didn’t mind paying extra. This is also a damp, shady area next to the river so sandstone would be covered in moss and algae and would need jet washing all the time.
One of our main requirements when choosing materials for our house was that everything should be low maintenance. Weekends are short and neither of us want to spend our Saturday afternoons jet washing the patio so we want to keep this to a minimum!
It was a last minute decision to go for such light coloured slabs as we always thought we’d have slate ones, but I love how bright these are. It looks lovely when the sun comes out and dazzles off the patio and it makes it feel so much brighter inside the kitchen.
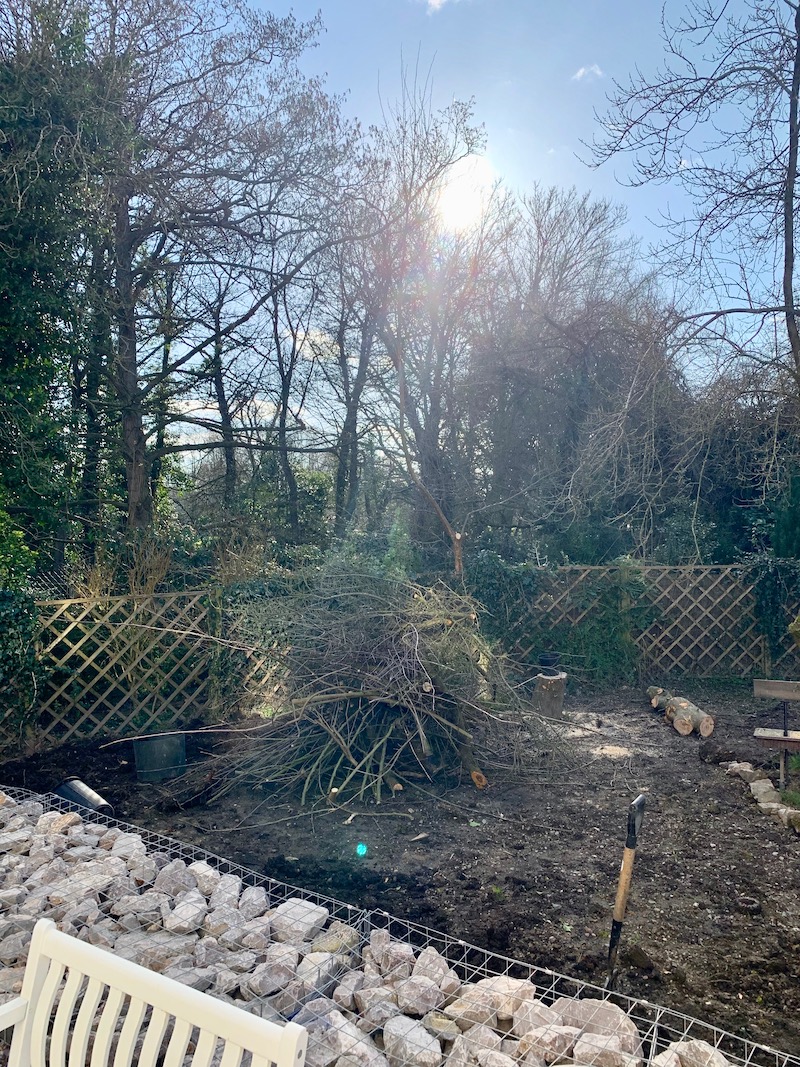
Cutting down the old apple tree
Last weekend we cut down an old apple tree in the garden. I’m not sure why we’d kept it for so long actually. The tree has never produced any fruit and it had previously been left to grow too big so it couldn’t be trimmed back into a nice shape. It was just taking up space and creating unwanted shade so I’m glad it’s gone – although I do always feel guilty about chopping anything down!
My flower bed
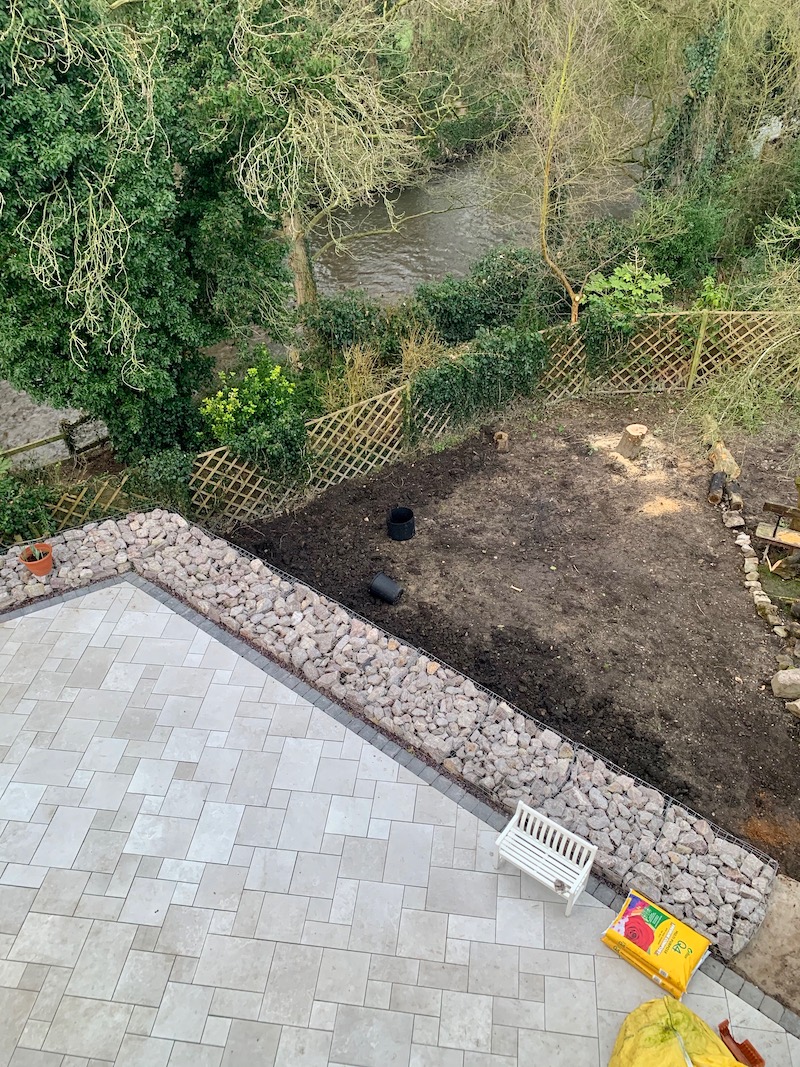
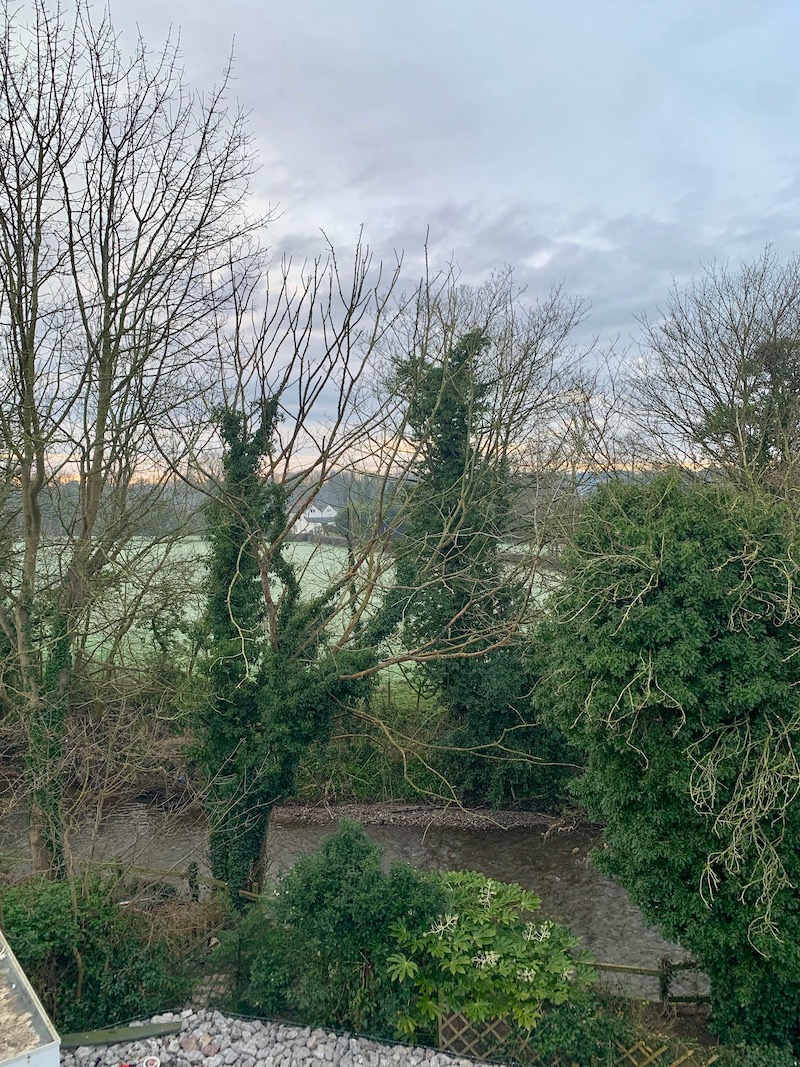
The big flower bed was created for me naturally. I wouldn’t have chosen to put it here but it just kind of made itself! There was a bit of mud left here when the patio was built and then in January we had a really bad flood which spread the mud to create this bed. It was the worst flood we’ve had in our area since 1999 so we don’t expect to have anything that bad again any time soon!
After the flood water subsided we expected the grass to recover like it normally does but I don’t think it will so I’ve decided to just embrace it and make it one big flower and veggie patch. The more I look at it, the more it feels natural and like it’s meant to be there so I’m just rolling with it.
I’ve started laying two paths in the flower bed so I’m able to reach everything. I’ll be planting lots of flowers for cutting and I’ll probably squeeze some vegetables into the bed too so I’ll need to keep some space clear to walk between them.
If I feel this space is too big – or if the river floods again and all my flowers die – I’ll probably just reseed this area for next year but I thought I’d give it a go and there’s no pressure if it doesn’t work out.
My raised veggie beds
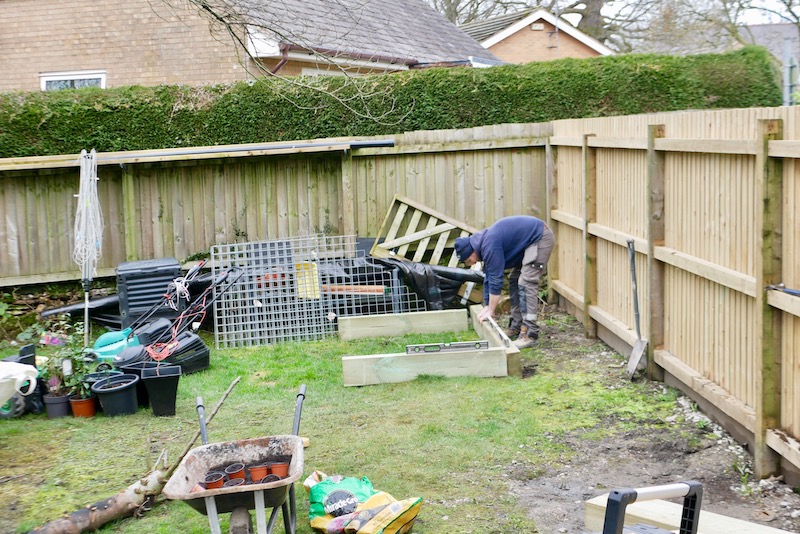
One area of the garden I’m really, really excited about is my raised vegetable beds! Sam made these for me last weekend (one of the many perks of having a handy guy around!) and I’m currently in the process of filling them with soil and compost.
I’m planning to grow carrots, beetroot, potatoes, cucumbers, courgettes, peppers and tomatoes. I’m going to end up with space in my three mini greenhouses so I might leave my tomatoes, peppers and cucumbers in pots in the greenhouses. I haven’t quite figured that one out yet!
Once they’re established I’m going to follow the ‘No Dig Method’ which basically involves adding a new layer of compost to the top of your raised beds without disturbing the soil beneath. Apparently it keeps weeds to a minimum, keeps your soil full of nutrients and makes life much easier for the gardener, so it sounds like a win win to me!

My herb boxes
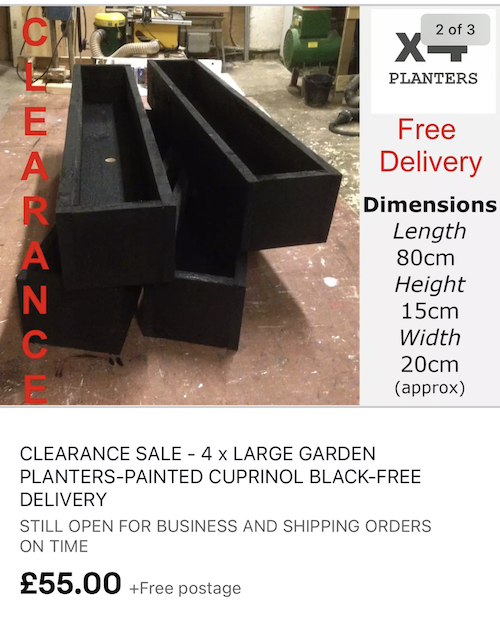
I’ve bought these planters on eBay which I think I’ll use for salad leaves and herbs and….errm…I’m not really sure. I bought them before I knew we’d have raised beds and now I don’t really think I’ll need them but I’m sure I’ll find a use for them somewhere.
If you have any ideas, please do let me know!
Vertical wall planters for strawberries
I’ve bought some vertical wall planters that I’m planning to grow strawberries in. I bought them from Aldi in a special buy but I have seen them on Amazon too! I’ve never grown strawberries before but I was thinking they’d be really easy to pick in a vertical planter and I wouldn’t need to worry about slugs. Birds could be a problem but I’ll worry about that when/if we come to it!
Compost
I’ve had a compost bin in the garden for years and I’ve been adding grass cuttings, food waste and garden clippings to it. I don’t think I’ve done a very good job because the compost was very wet and I now know I should have been adding much more dry, brown stuff like wood chips, bark or shredded newspaper or cardboard.
But I wanted to move my compost bin to a different corner of the garden so I emptied it and spread the wet compost onto my new flower bed anyway. I just spread it onto the top of the soil so hopefully it will dry out and the worms can do their magic with it.
Bokashi bin
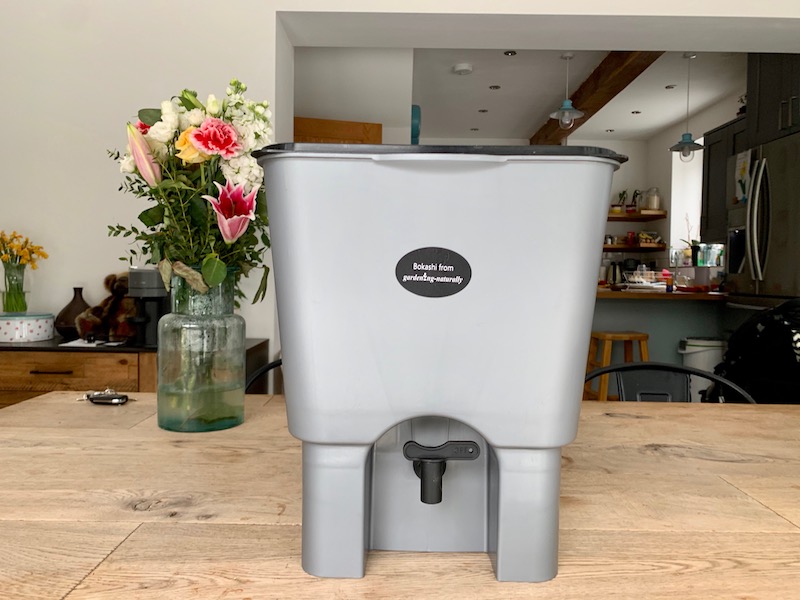
I’ve got a bit geeky when it comes to composting and I started doing lots of research. I came across this video about Bokashi composting by her 86m2 (which is actually a gorgeous video about a very non-gorgeous topic!)
Bokashi composting is basically where you add your food scraps to an airtight tub along with a special ‘Bokashi bran’. You leave it to ferment for two weeks and then dig it into a hole in your garden. Leave it for another two weeks and it should have decomposed and left you with lovely, nutritious soil.
I’ve only just started doing this but I will let you know how I get on.
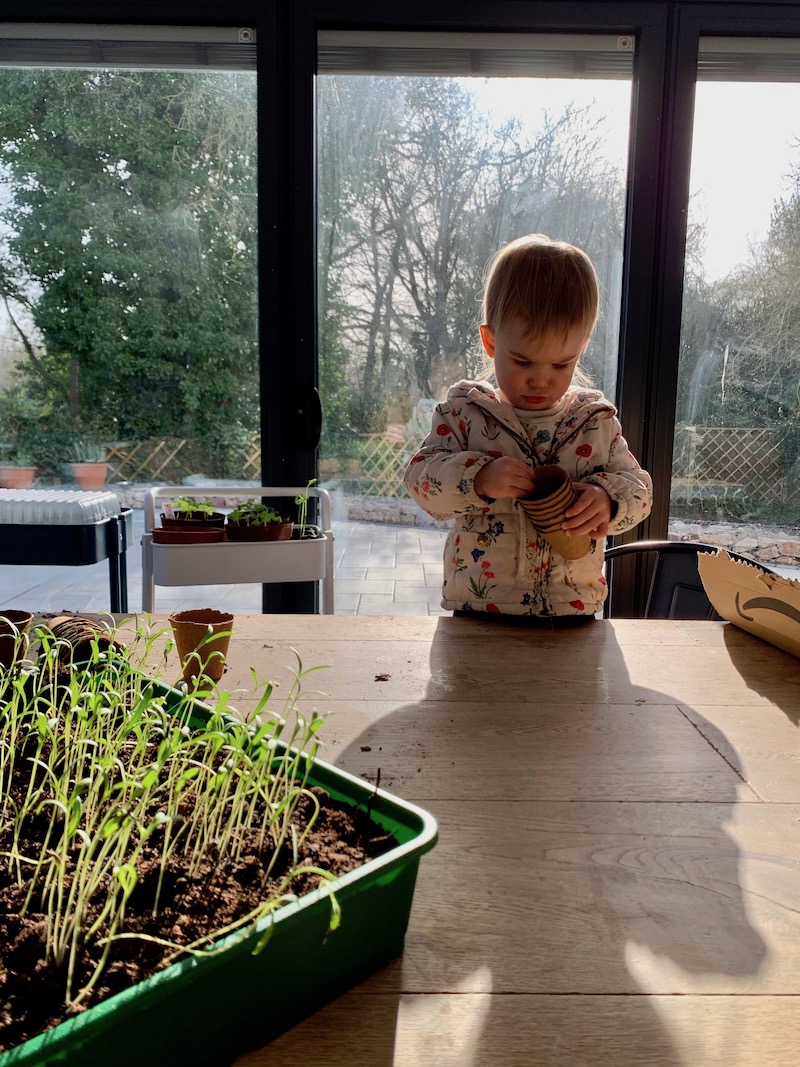
Sowing seeds
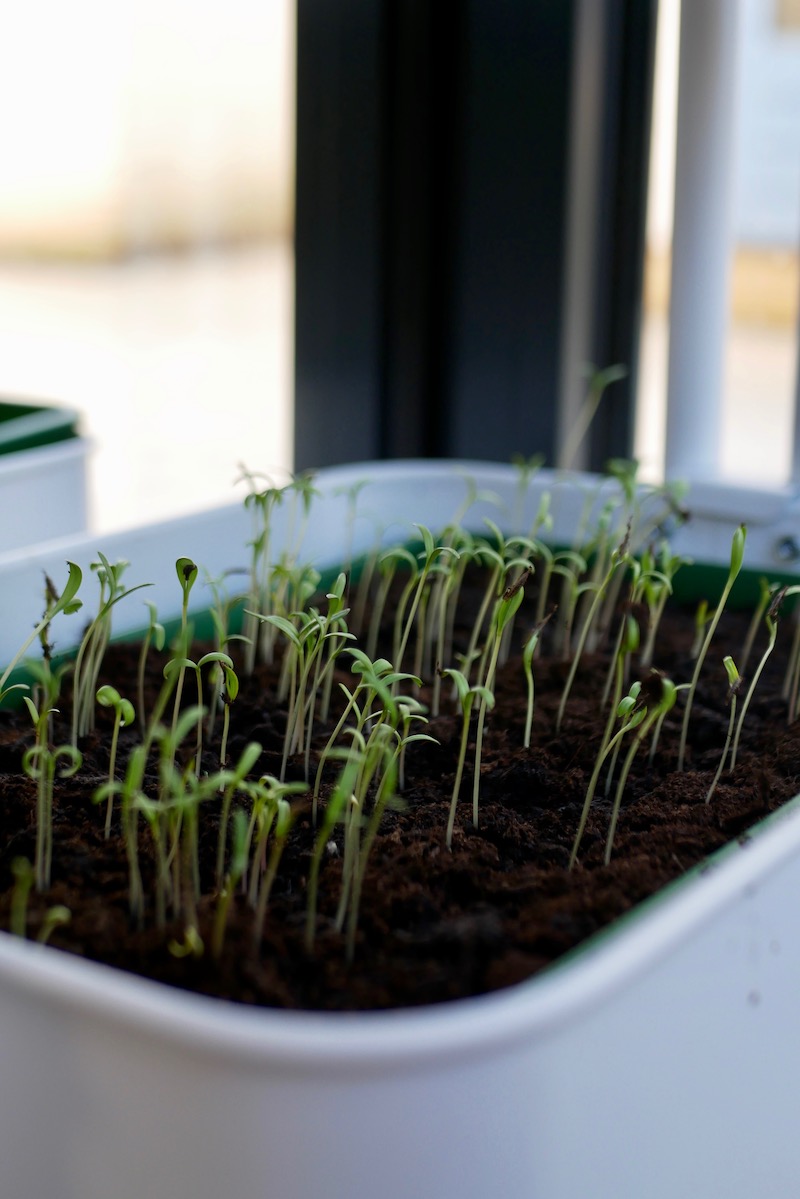
I’ve been busy sowing seeds over the last couple of weeks. I think our kitchen should be a great place for seeds thanks to the big glass doors and all the afternoon sunshine that pours through here. The room is also nice and warm with underfloor heating so I think it’s the perfect seed growing conditions!?
I’m attempting to grow almost everything from seed. Seeds are cheap and I have the space so I thought I might as well give it a go. If some seeds don’t work out and I desperately want particular plants in the garden then I’ll buy the young plants from the garden centre.
Sweetpeas are the only things I absolutely LOVE and wouldn’t be without and they’re looking good already so I think I’ll be OK.
These are all the seeds I’m growing (please ignore any spelling mistakes here, I’m spelling them how I pronounce them):
- Nasturtium
- Foxglove
- Sunflowers
- Cosmos
- Dianthus
- Dahlias
- Zinnias
- Gladioli
- Freesias
- Marigolds
- Lilac
- Sweetpeas
- Geraniums
Seed trolleys
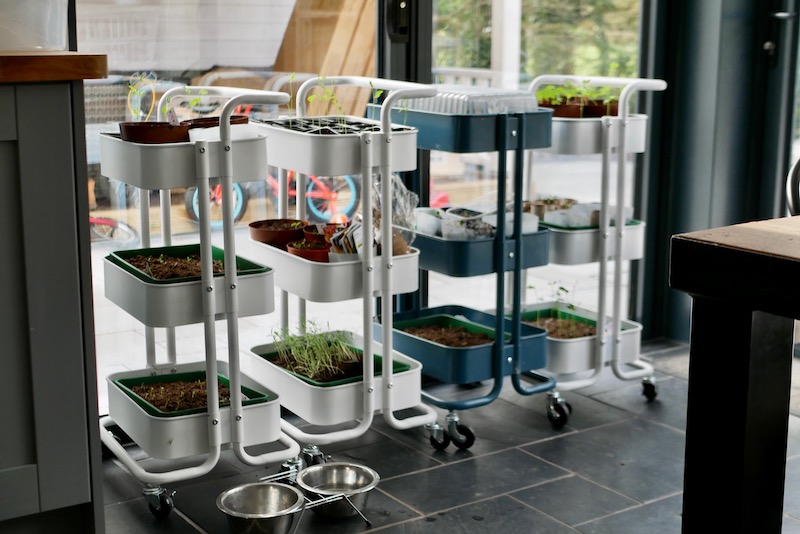
I’ve put most of my seeds on these trolleys I bought from Amazon last year. I usually use them in my cupboard under the stairs as they’re a handy way to organise an awkward space. My cupboard is currently chaotic but the trolleys do make good seed holders!
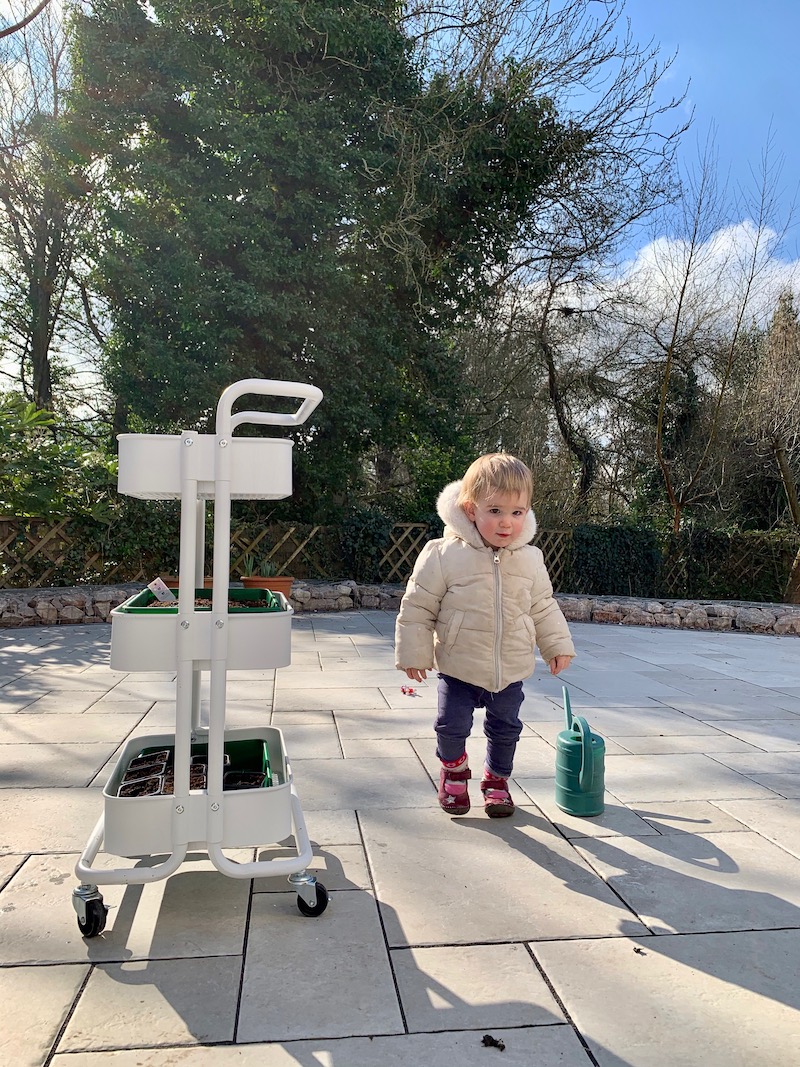
It’s handy to be able to move them into the sunshine or spin them around when I notice the seedlings bending towards the light. I can also wheel them outside to water them without making any mess inside and when they’re ready to be planted outdoors it’s easy to slowly introduce them to the colder climate outdoors.
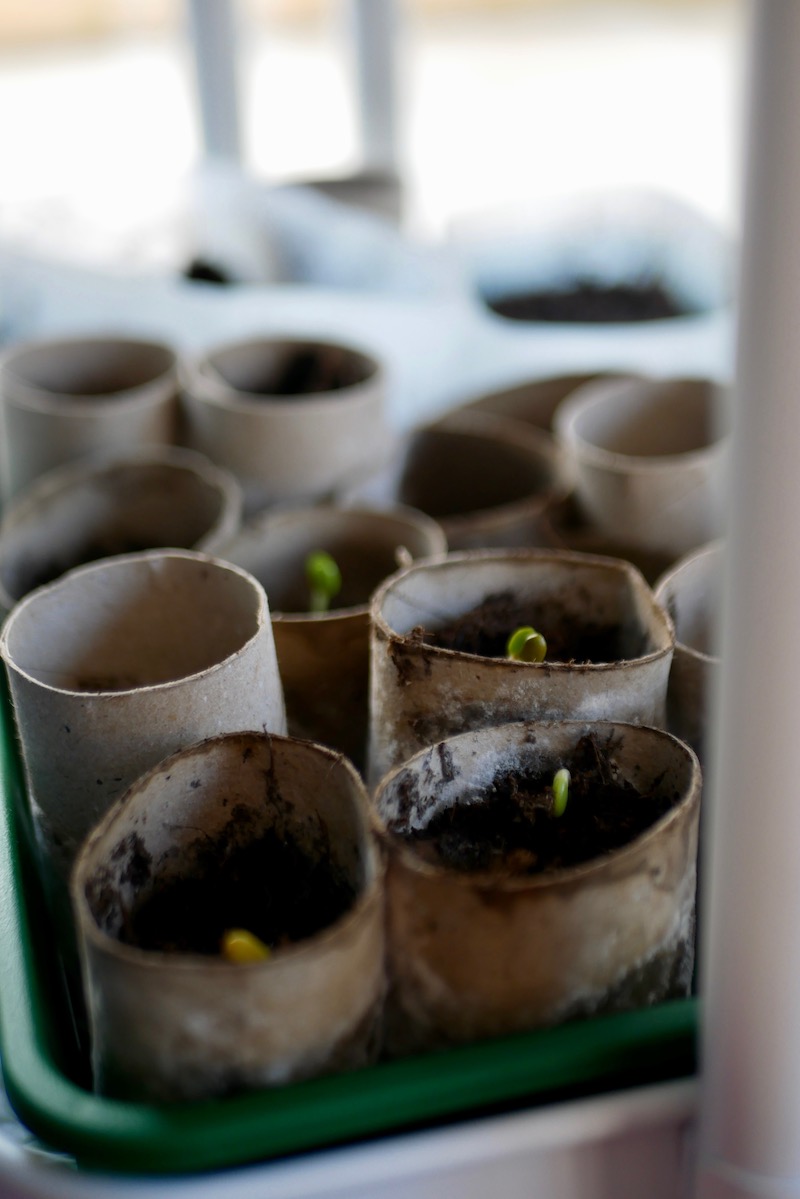
Recycling pots for sowing seeds
When I started buying things for my flower and veggie bed I was really surprised by how much single use plastic is involved in gardening! I imagine gardeners to be very environmentally aware and the kind of people who will avoid single use plastic but it’s everywhere from the cheap seed trays that are unlikely to last more than two seasons, to the plastic plant post, the compost bags and bottles of fertilisers. It’s pretty difficult to garden without picking up a lot of plastic along the way!
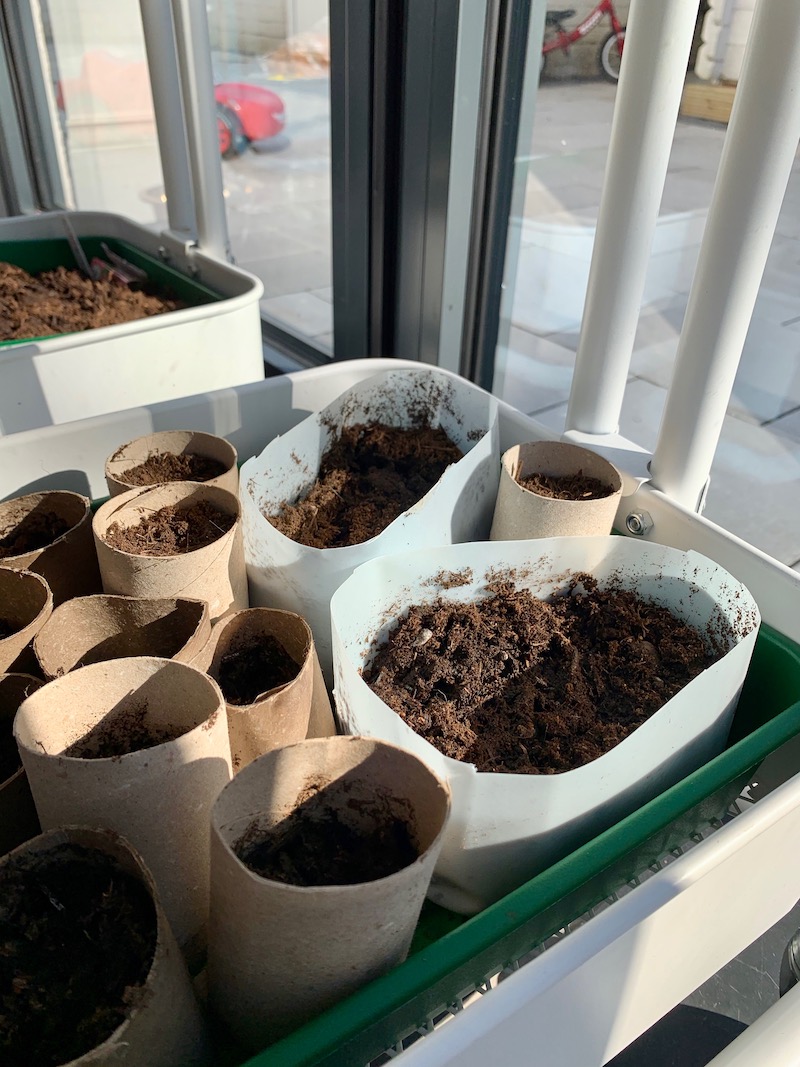
So I’m attempting to grow some of my seeds in things I would have thrown away with the recycling.
Things like grape punnets, milk cartons and yoghurt pots seem to be doing well! I think you can use anything that holds soil and is deep enough for the roots to develop – just remember to poke holes into the bottom of tubs that don’t have them to allow water to drain through.
I’ve also made some individual pots from toilet rolls that we’ve been collecting for months. They were easy to make but less than half of them have germinated and they’ve gone super mouldy. I’ve checked a few online forums and apparently white mould is fine and is a normal part of the decomposition process. I just need to be careful not to overwater them which will make the mould issue worse! Something doesn’t feel right about growing seeds in mouldy pots but I’ll let you know how I get on with those.
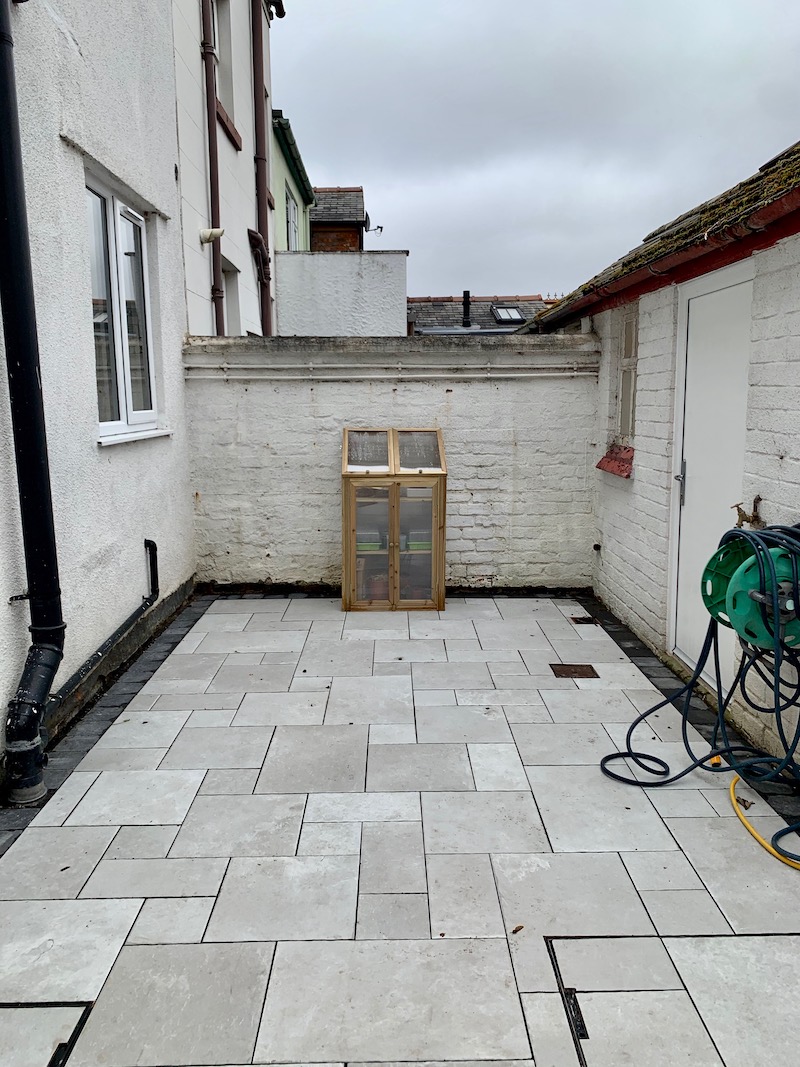
My mini greenhouses
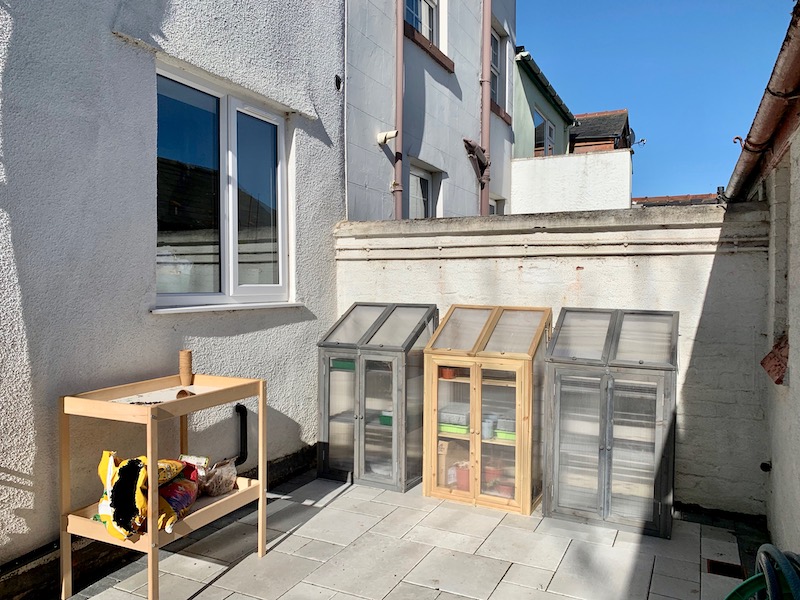
I was originally planning to buy a nice big greenhouse and shed combination. Until I saw the price of them! Woah, who knew greenhouses were so expensive!?
So rather than fork out £1,000+ on a greenhouse, I’ve bought three mini greenhouses from Aldi. They were £54 each and, while they might be small, I think they’ll give me just enough space.
I also like the idea of being able to move them around the garden or reposition them if needs be. I’ll also be able to tuck them away in the winter (we have an unused area hidden away in the garden so they’ll hide away there perfectly) and cover them over to protect them.
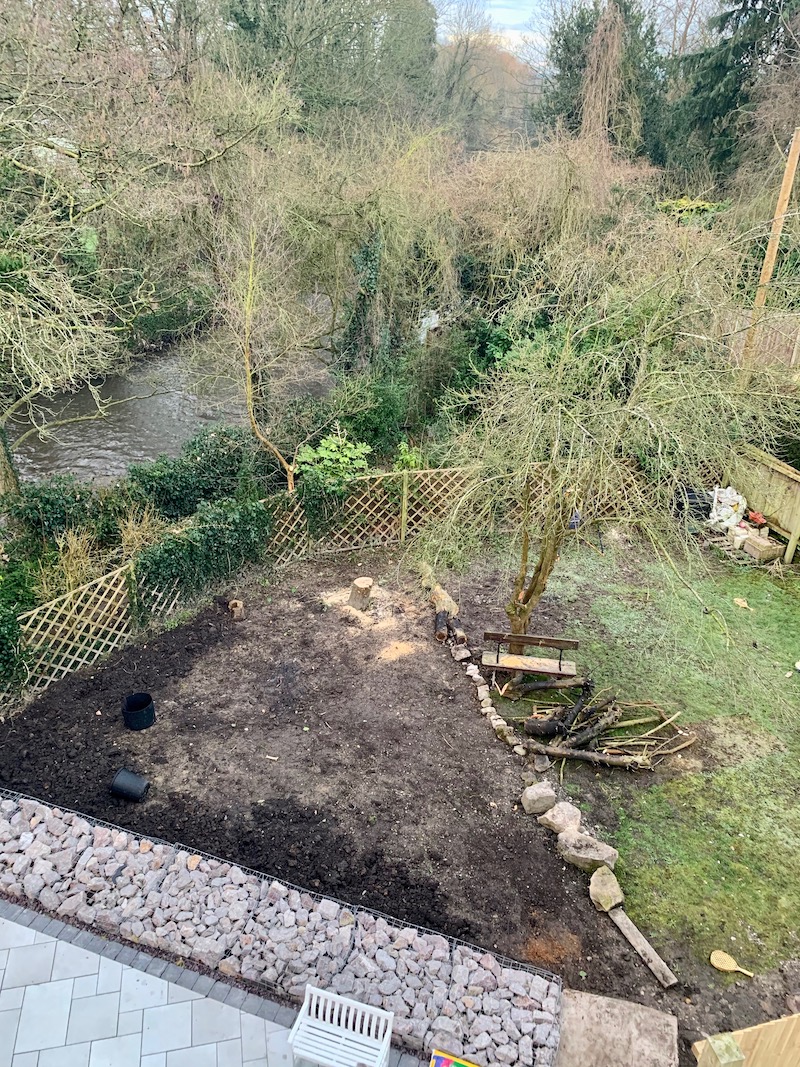
My lawn
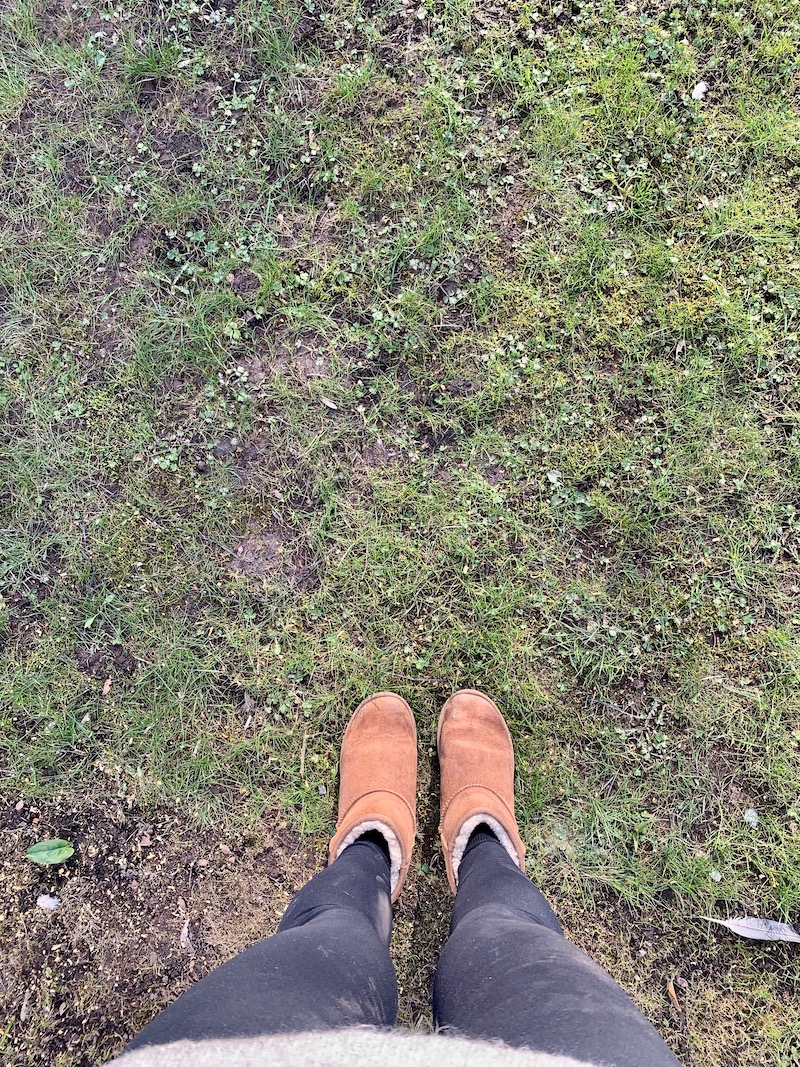
And my final project in the garden is this lawn. Urgh. It’s such a mess. We’ve never done anything to take care of the lawn, other than mow it every 2-3 weeks in the summer, so it needs some TLC. I actually didn’t realise you have to take care of a lawn, I thought you just cut it! I’m going to put down some ‘feed, weed and moss killer’ and possibly reseed the areas that look a total mess.
Plans for the future
I have two more plans but I think they’ll be things I’ll have to put on hold for now (as you can probably tell, I’ve spent a small fortune already!)
I want to have an archway leading into the garden with climbing roses all over it. How gorgeous would that be to walk through an archway of roses! And along the fences I’d like to grow a huge wisteria plant. I love wisteria and these two fences are south facing so I’m sure lots of beautiful plants would love to climb up it.
I’d definitely like to get some Alba Roses in the garden. Alba means ‘white’ and her middle name is Rose so she’s a little Alba Rose herself. Alba roses are white, blush and pink and apparently they’re really hardy, thrive under difficult conditions and don’t require much attention (unlike the real thing!) so I think they’ll be perfect in our garden!
There it is. The first month in my garden! I’m already so excited to see how my garden progresses and to be sharing updates in July and August when I’ll hopefully have lots to share about gorgeous flowers and huge baskets of homegrown veggies!
Read more
My big house renovation and extension Q&A
More from The Travel Hack At home


Loving the blog, fab for tips and ideas. Thank you!!
Your Garden is going to turn out to be very beautiful with all the amazing ideas you have! I’m looking forward to know on the Veggie beds! The seed trolleys seem extremely handy.