Today’s blog is all about how to improve your travel photography with these simple but very effective photography hacks! They come from Lisa, a professional photographer who shares her travel photography tips over on The Wandering Lens. Her photography is absolutely stunning so check out her Instagram feed too!
Lisa has also contributed to my blogging e-course, The Blogger Course, and shares her advanced photography techniques and dslr cameras in week 11.
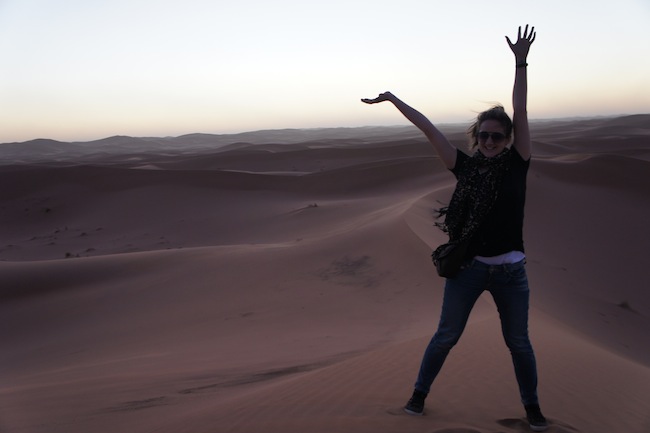
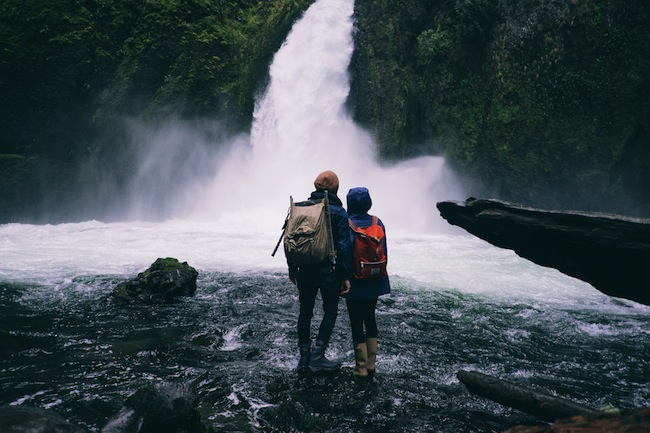
Travelling creates so many opportunities to capture beautiful photographs of cultures, landscapes and great cities.
From the warm sunsets of Tuscany to the clear waters of the Caribbean, having a camera with you is becoming more and more part of the experience, ensuring you snap something to share with everyone back home.
Sure you can snap a quick shot and get on with your trip but if you’re like me and want to really capture the beauty of a destination, I’ve put together some photography hacks to help you out.
Despite being a professional photographer, I don’t always think taking great photos is all about having a big fancy camera. More often than not, what’s more important than gear is how you see the world and knowing how to add your own unique style to photos.
So here we go, from settings to packing tips, here are my favourite photography hacks for creating beautiful photos…
Adjust your White Balance
Adjusting your camera’s white balance allows you to control the tones of your image. Usually it will be set in automatic however if you switch it up you can make a sunset warmer or a snowy scene cooler. To do this, go into your menu or if your camera has a white balance button simply click it then scroll using the dial to select your desired white balance. Personally I love using the ‘Cloudy’ white balance for sunrises/sunsets, sunny days and just to give a general warmth to my photos.
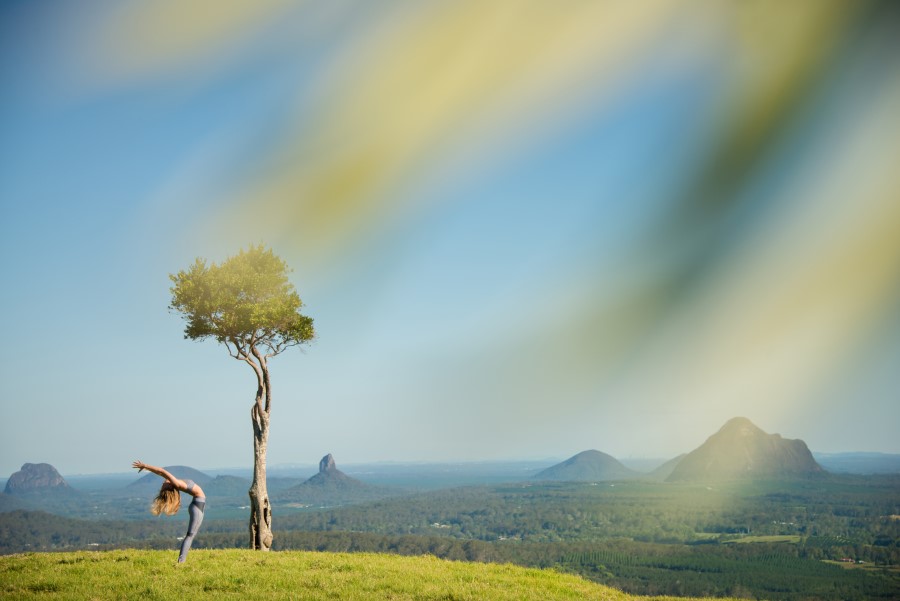
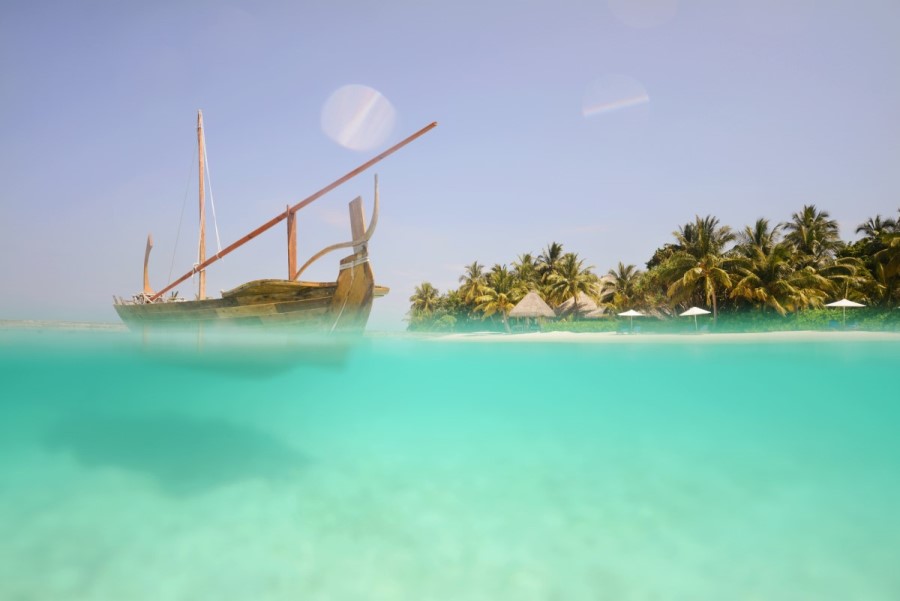
Make Creative Foreground Features
To make a scene a little more interesting, grab a flower, plant or any object with a jagged edge to include in your shot. Hold it up against your lens and you’ll notice a beautiful blurred colour appearing that gently frames your photograph and offers a different perspective. Move it around to create different angles and in no time it’ll appear like you were standing in a garden when you took the shot!
Safely Pack you Camera Gear
With the increasingly smaller carry-on baggage limits, you may have to resort to packing your precious camera gear in your hold luggage. Of course this is less than ideal but if you do have to, there are ways to make sure they’ll stay as safe as possible. Wrap your lenses in thick socks then pop them inside your boots or shoes so they’ve got a nice sturdy support. If you need to pack your camera too, I’d suggest getting bubble wrap, then wrapping in a coat or sweater so it’s super snug. When package camera gear into hold luggage always make sure it’s surrounded by other items so it won’t move about when the bag is jolted or thrown onto the luggage belt.
Check Hourly Weather Conditions
This one is for the weather geeks (me!) and ensures you’ll be well aware of what conditions are coming your way. Knowing the forecast will enable to you be in the right place at the right time and can be the difference between a great photoshoot and a total wash out. I’ve personally used AccuWeather (www.accuweather.com) in over 10 countries and can say it’s about 95% accurate, even down to the minute the rain will arrive…pretty impressive! The only destination that it couldn’t get right was the Lofoten Islands in Norway but that’s another level of ever-changing weather. Once you type in your current location it will provide a general forecast but you can also click through to receive an hourly forecast with wind speeds, rain, temperature and cloud cover which is really important with photography!
Google Maps Street View
When researching photography locations Google Maps is my go to platform. To find hidden locations away from the touristy attractions or if you’re curious about a particular area, jump on Google Maps, type in an address then explore the streets using the live street view. It’s great to find pretty streets to visit, places to stop for photos along a coastline or even just to find somewhere photogenic to eat!
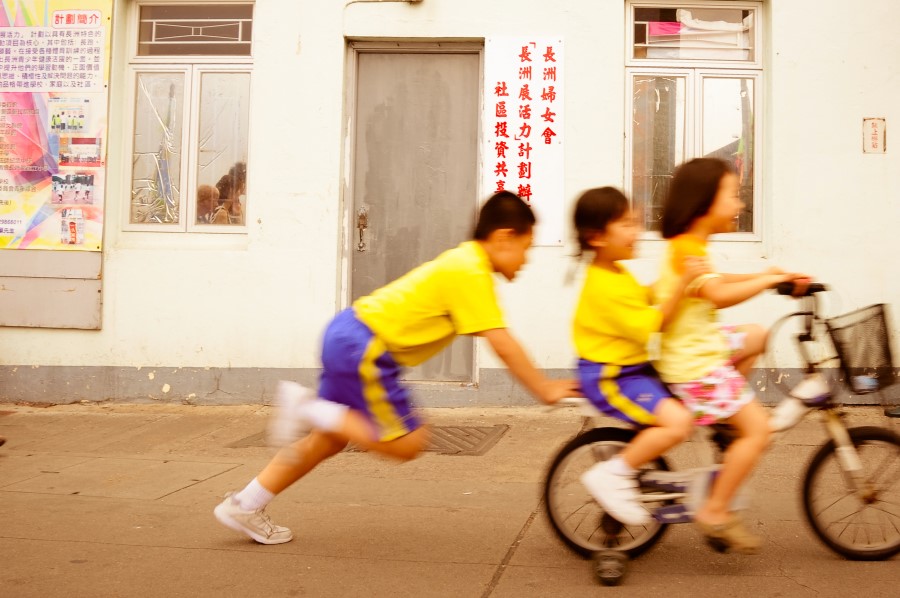
Change Your Perspective
Photography all comes down to how you see the world, so if you want to take better photos, change the way you’re seeing things! Look around for alternate perspectives, can you get a shot from above? Zoom in? Frame it beautifully? Change the foreground? Even adding a person into your shot can make it interesting. Get a friend to walk through your shot and gently blur them to create movement!
Look for Lines
Leading lines in an image tell the viewer where to look. Whether it’s a road winding into the distance, a row of trees pointing towards a monument or patterns in the sand heading for the sea. When taking a shot, stop to think about how you can compose it by using lines. Once you start looking you’ll actually find there’ll be options all around you!
Shoot on Aperture Mode
A lot of professional photographers won’t tell you this but I’m sure most of them shoot on aperture priority just like me. While it’s not suitable for all conditions and manual of course has its advantages, it’s definitely a great place to start and build up confidence in learning about your camera settings. When using aperture mode you can adjust your ISO and Exposure settings and once you start to play around in different light you’ll notice these are two big factors in creating your image. It’s not too difficult but just difficult enough that you’ll need to think when taking a shot so it’s perfect if you’re hoping to learn some technical skills.
Smile + Say Hello
This might sound a little obvious but if you’re taking portraits of locals while travelling, it’s super important! Knowing how to say hello in the local language or even just smiling and acknowledging someone will be the difference between a snap and run shot, and a beautiful cultural portrait. You can usually see in someone’s eyes if they’ve been caught unaware or if they’re staring curiously at the camera, the latter is so much more special.
Leave the Tripod at Home
If you’re like me, a tripod can be really annoying to travel with. It takes up too much room in your luggage and if you’re carrying it around all day, photography won’t be too fun anymore! To get around this you can get crafty and use tables, fence posts, rocks, basically anything that’s still and will keep your camera still. I’ve rested my camera on garbage bins before because they were perfectly placed to act as my tripod! The only time this tip isn’t relevant is for astrophotography and aurora because you’ll need to keep it super still for a long period of time. Otherwise, travel light and search for the perfect leaning post!
 Lisa is a professional travel and underwater photographer and founder of The Wandering Lens, a guide to photographing the world. On her site you’ll find tips on how to improve your photography and destination guides to photogenic locations. Currently based in France she’s slowly learning to speak French, is making it her mission to visit every corner of the Mediterranean and always makes time for a trip home to Australia to stock up on goodies like Twisties and Promite.
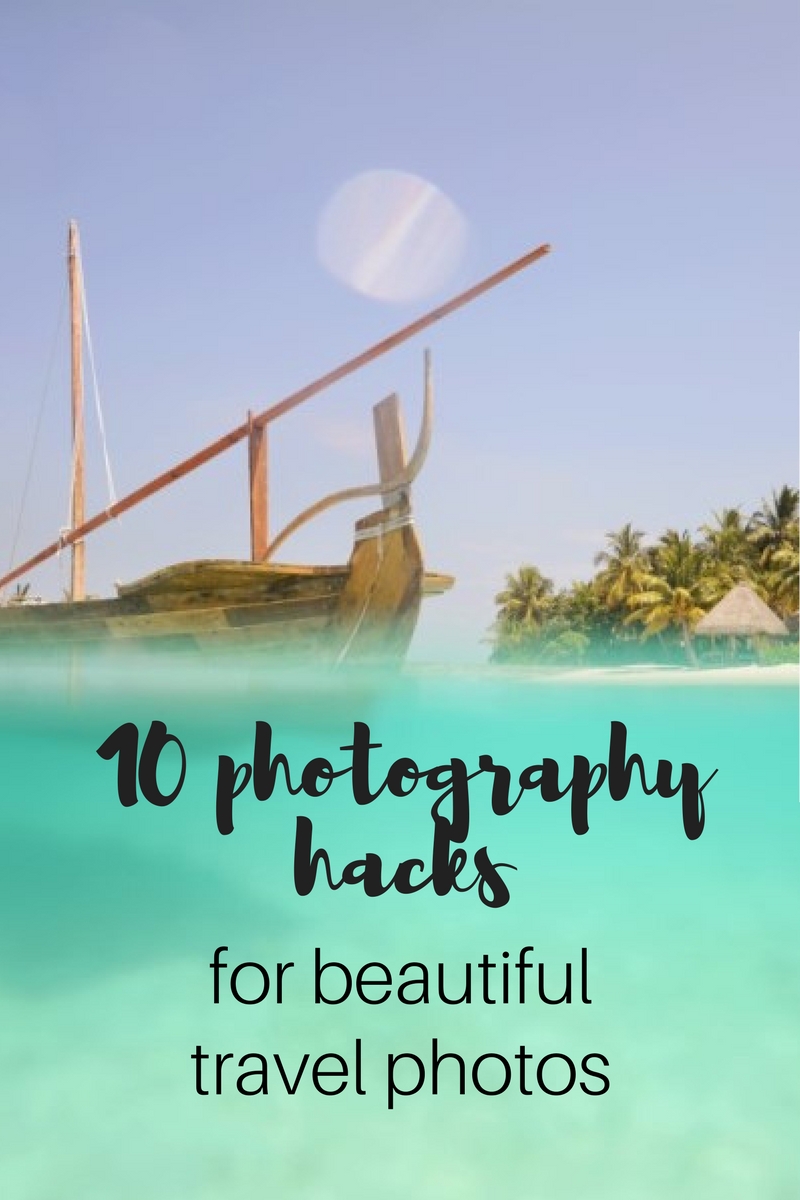
Pin this for your next trip…
[one_half]
 [/one_half]

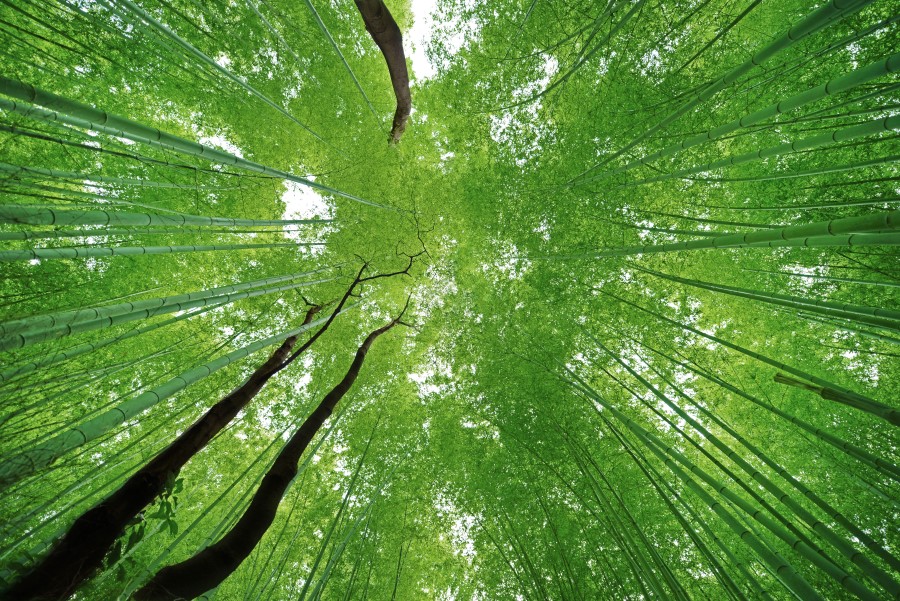
I really love that photo taken up to the top of all the trees. They look so tall! Thanks for the tips!
-Rachel @ Backcountry Petite
Nice tips! I’m interested to know how you blur a person walking through a scene but keep the background focused – is this an effect you’d have to add afterwards?
Hi Lucy, the best way to create blur is to shoot on aperture mode then simply turn the ISO down low and increase the f-stop to f/22 or as high as your camera will go. This will make a the shutter stay open longer and allow a moving subject to blur through the photo.
When you take shots like this you need to stay super still though otherwise the whole shot will be blurred 🙂
I hope that helps!
Hi Lisa
I only just spotted your comment (I thought I’d receive an alert) so apologies for the late reply! This sounds quite technical but something I’m going to look into to see if it’s something I can achieve on my camera as I would love to get this effect. Thanks again for your help!
Amazing tips and beautiful images! I love the foreground tip, it’s something I also love to do. I find my images to be the best when I really stop and think about what’s actually in it. It’s so easy for travellers to put their camera on auto and take 1000 photos at once, but that never makes their images unique. It sounds silly, but it makes a big difference!
So great to hear Kate! Rapid fire photography rarely results in anything super special, so nice to hear you think about your shots 🙂
I like the tips you shared but for me, the most challenging part is clicking during noon when sun light increase the exposure. I can overcome this with filters but I want to know how you manage more lights?
I’m not sure what Lisa’s answer would be to this but other photographers I know simply don’t shoot at noon. I suppose sometimes it must be unavoidable and Lisa may have a suggestion for that….?
Hi Sophie, like Monica mentioned, a lot of photographers won’t take photos in the strong midday sunlight because it’s not the most flattering and can be very contrasting. That said, you can work around it by finding shade, increasing the exposure to brighten your image overall or by making it work for you and creating sunstars with an aperture of f/14 or higher.
Thanks so much for your advise! I really like the one about the white balance. Whenever I want to change it because I want to make my picture look warmer, I cannot figure out what to set it to. It’s good to know that cloudy will do the trick.
Lately, I have started to play around more with my camera and to change aperture, shutter speed and ISO settings and it’s crazy how much of a difference it makes. We were in a butterfly garden a couple of days ago and I don’t think I would have gotten a single picture in automatic mode because those creatures are just too fast. But playing around with the settings left me with some great shots, so I definitely agree with putting your camera into aperture priority mode and start changing the settings.
Also, thanks for the advise with the sunstars, that I found in the comment above. I will have to try that.