We’re going a bit off-topic today as I’d like to share our cheap conservatory makeover! I wasn’t going to post this because the conservatory is actually the one room of the house I don’t like but, as it’s where I take many of my photos on Instagram stories, I’m often asked about the (cheap!) flooring, the storage units and the cute plant display. We’ve also just had planning permission to knock it down and build an extension so I kind of wanted a permanent record of this horrible little conservatory and how we attempted to temporarily make it a welcoming and useful space on a budget!
Before we begin I’ll let you know why we wanted to do such a cheap makeover on the conservatory. Unlike the rest of the house, we didn’t spend much time or money to make it perfect because this conservatory was never meant to be permanent. We always knew we’d be knocking it down to build an extension so the conservatory was just staying put while we saved for the real deal.
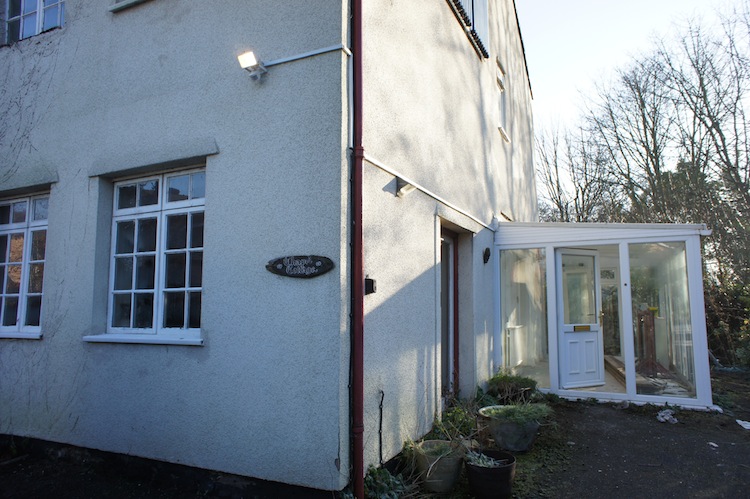
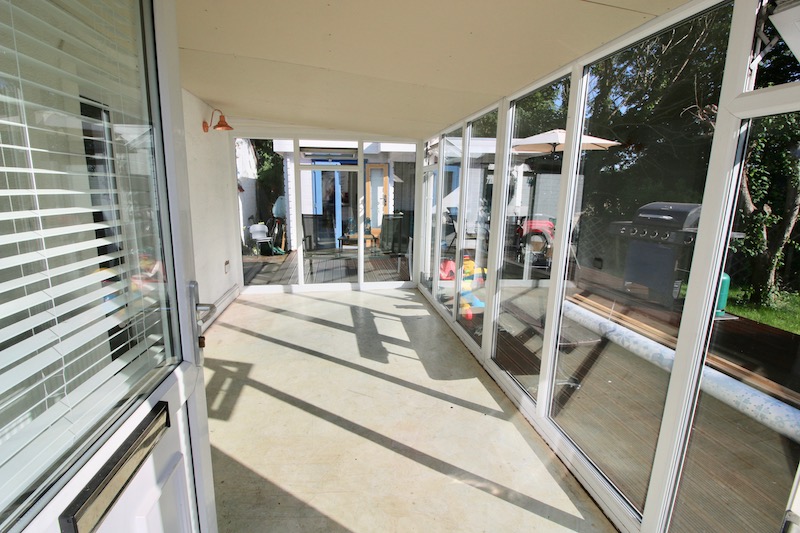
The house and conservatory when we first bought it
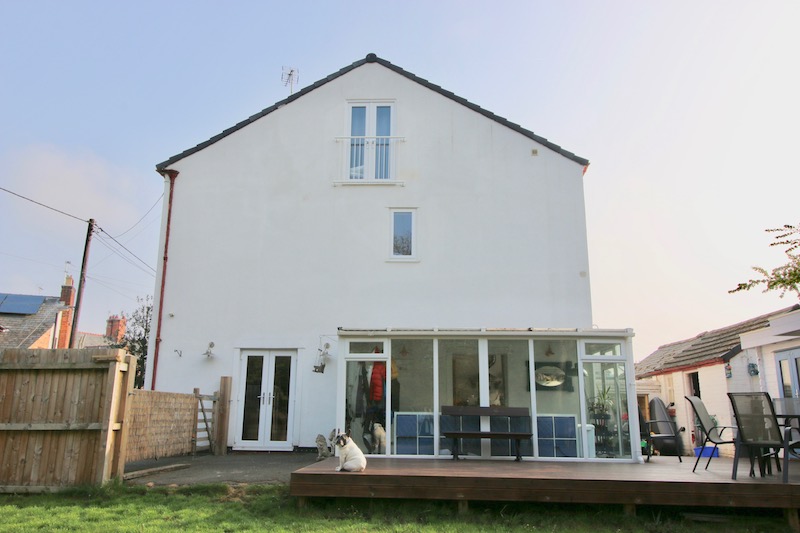
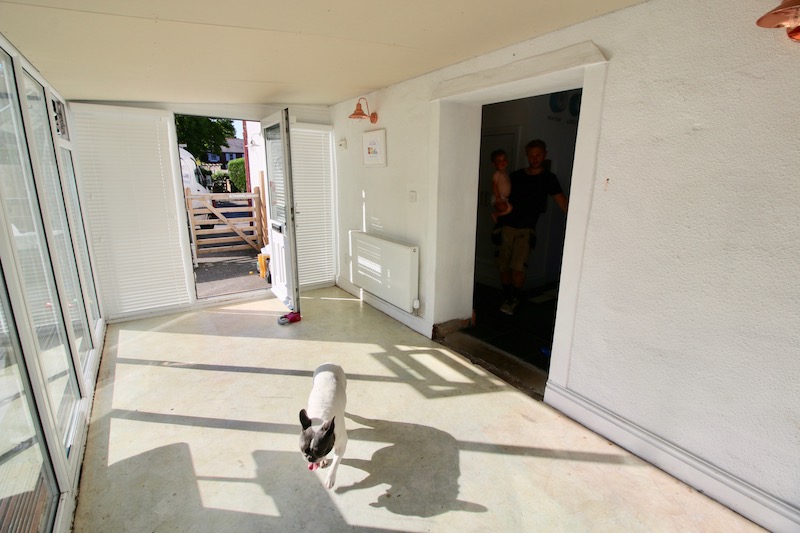
And now – but it won’t look like this for much longer!
When we got the keys to our house Sam wanted to tear it down immediately. I mean, look at it, it’s probably the ugliest eyesore you can imagine! It’s also one of those useless spaces that isn’t big enough for anything practical but so big it takes up a lot of space. And, like many conservatories, it’s too hot in the summer and too cold in the winter. There’s literally about 10 days every year when it’s a nice temperature in there! But I knew this extra little space would come in handy and Sam agreed to keep it, if only for a space for the builders to work while they were renovating the house.
I really wish I’d taken some photos of what it really looked like before. It had ugly flooring, piles of junk, mismatch of random furniture and an oversizing dining table we never used!
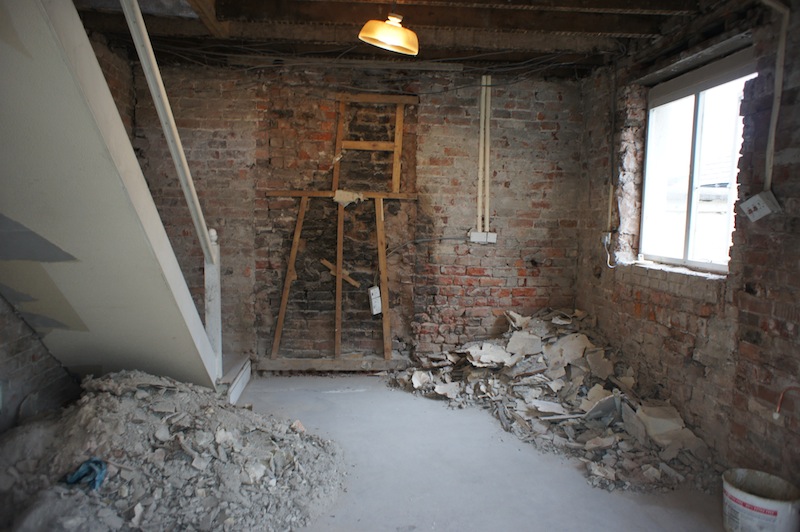
For 9 months, the conservatory was used like a mini builder’s yard while our house was taken back to bare brick and restored. When we moved in, the conservatory still looked like a builder’s yard and we were a bit reluctant to decorate it at first. We didn’t want to spend money on something that would (hopefully!) be gone within a year or two.
^The kitchen during the renovation work
But after a few months of this ugly, cold room I got fed up and bought a few bits to spruce it up and I’m very glad we did because it’s still with us four years later!
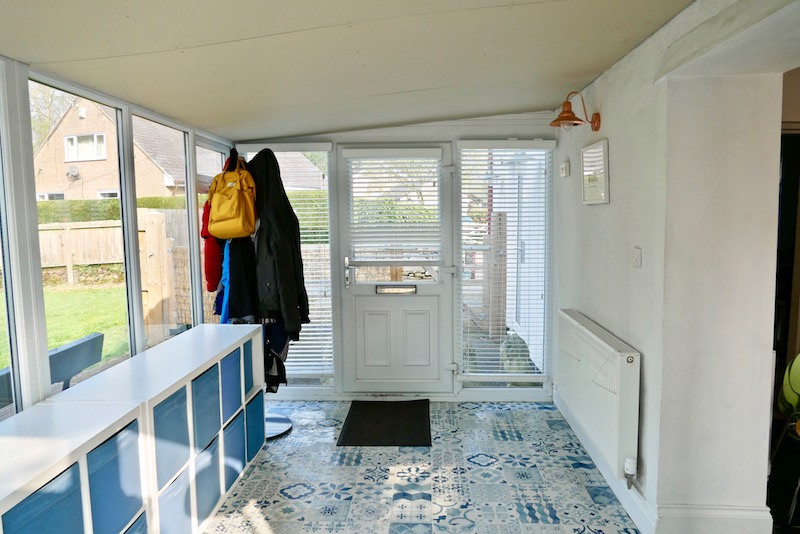
We use this conservatory space more like a large porch area with storage. Our front door opens into the conservatory so it’s the first thing people see and it was a bit embarrassing when it was such a mess! The conservatory is where coats, bags and shoes are dumped when people come in and it’s where we store all the household crap that doesn’t have an official home. It’s also where our dog, Louie, sleeps and is the place where the kids do any kind of messy play like painting, PlayDoh or colouring. It’s a mismatch of a room with no real purpose but also a room we couldn’t live without!
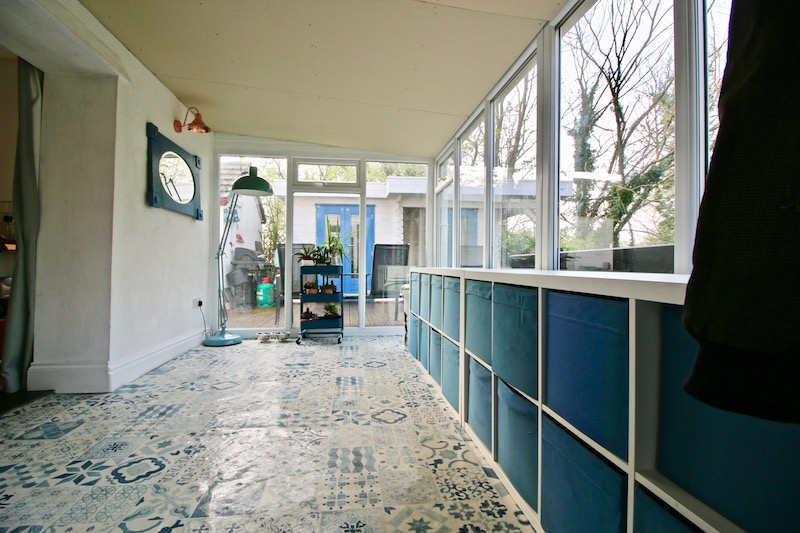
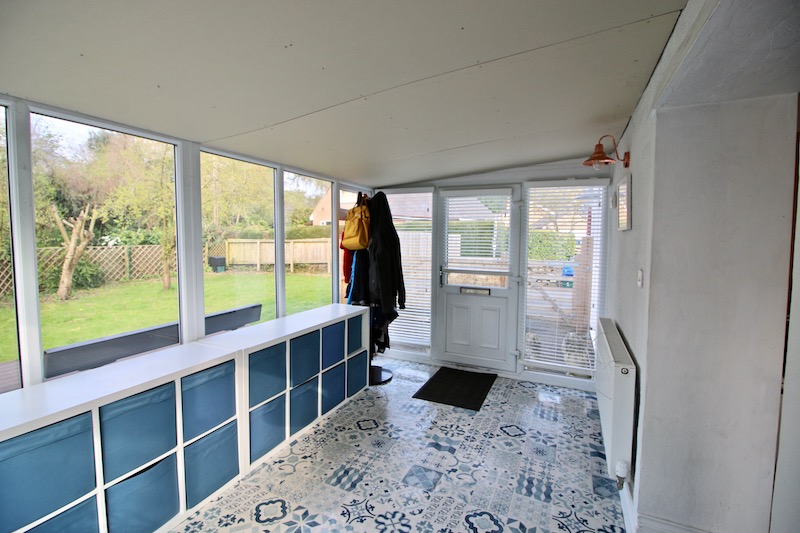
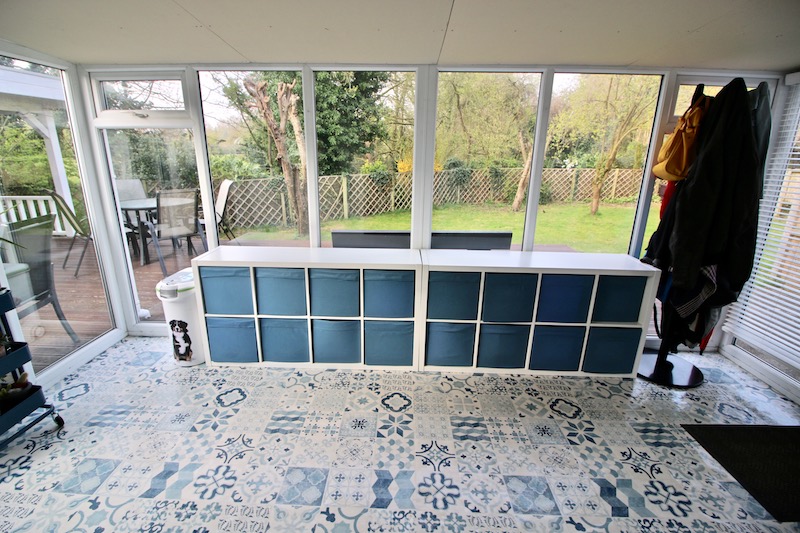
After a quick spruce up, this is what it looks like…..
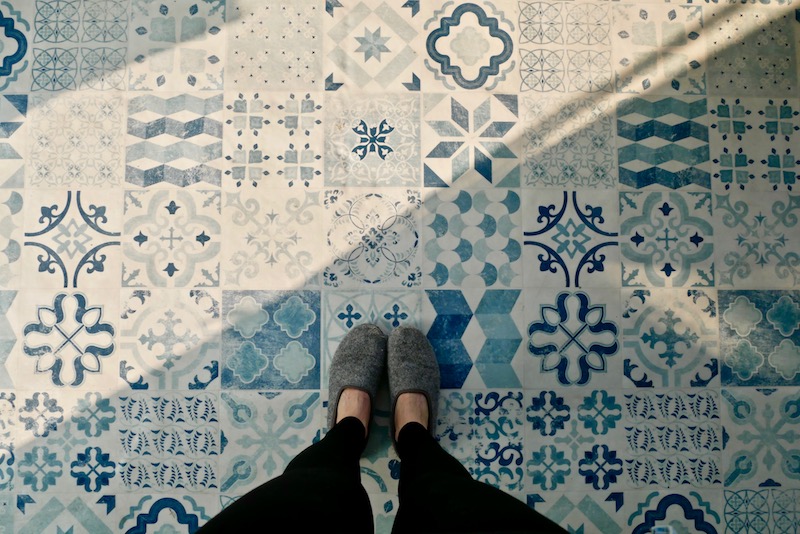
The floor was the biggest change for this room and the biggest expense. A horrible, old-fashioned vinyl was down before so I swapped it for a modern vinyl (who knew there was such a thing!) from CarpetRight. It’s called the Platinum Almeria Blue Vinyl and cost about £170 for this room. I wouldn’t normally choose such bold patterns for our home but I knew it wouldn’t be staying for too long so I felt a bit braver. I absolutely love it and, even though I can’t wait to be rid of this conservatory, I’ll be sad to say goodbye to this floor! Sam fitted and laid the floor but CarpetRight would have done it for £40 and Sam later wished we’d just paid the extra £40. It wasn’t difficult to do, but by the time he’d collected it, bought the glue and spent an evening fitting it, it would have been better just to pay someone else!
The second big game-changer were the storage units from Ikea. It’s the KALLAX shelving unit that everyone has and, while it might not be original, it is useful. We got two units so have a total of 16 boxes we use for everything from tupperware to shoes and bags, dog toys, kid’s toys and there’s one box dedicated to ‘crap’. As in, ‘Have a look in the crap draw, there’ll be a xxxxx in there.’ The storage boxes were £2.75 each so this whole unit cost £124. Now we have it, I can’t believe we ever lived without it!
The HEMNES coat stand was a useful purchase at £50 as the kids can reach the lower hooks.
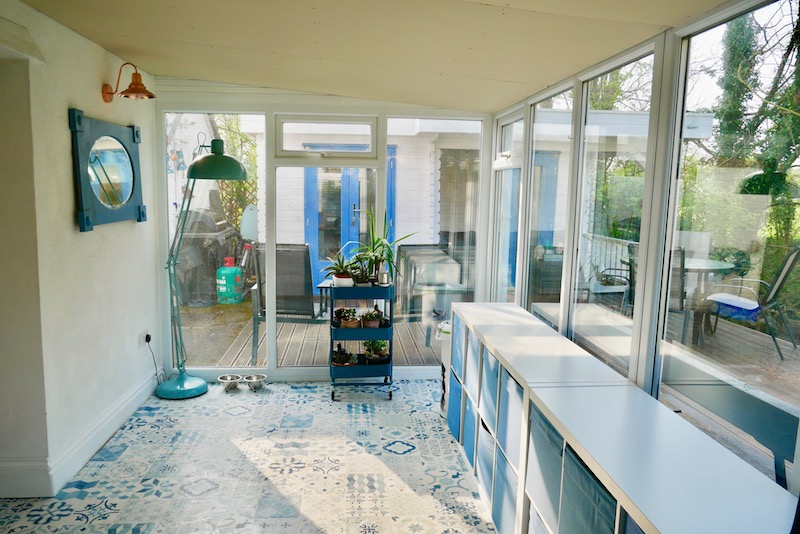
The lamp was an expensive purchase that Sam bought when we first moved it. We didn’t have a particular space for it, he just bought it because ‘he liked it’ but can’t remember where he bought it from. It cost about £150 wherever it came from.
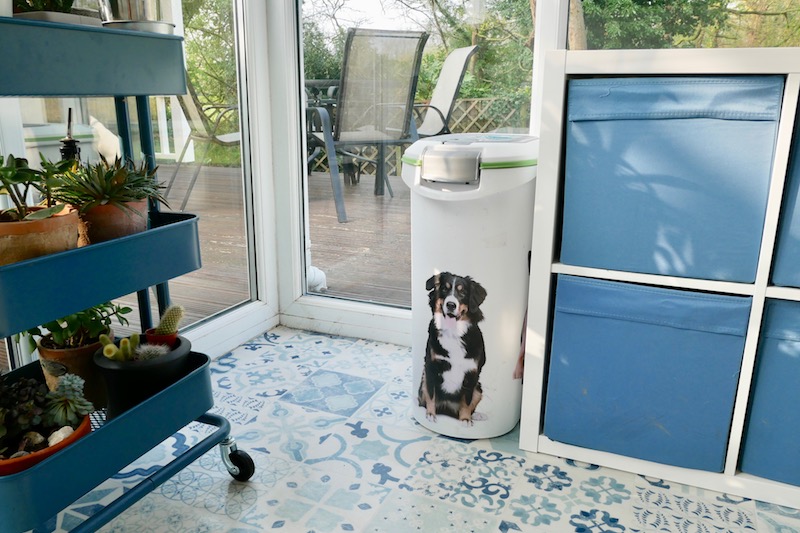
An annoying necessity in this room is the dog food storage container. We have nowhere else for this to go so we bought a decent air-tight container so that gross dog food smell doesn’t escape. This one cost £25 from Pets at Home. It’s currently out of stock but I’ve linked it just in case it comes back.
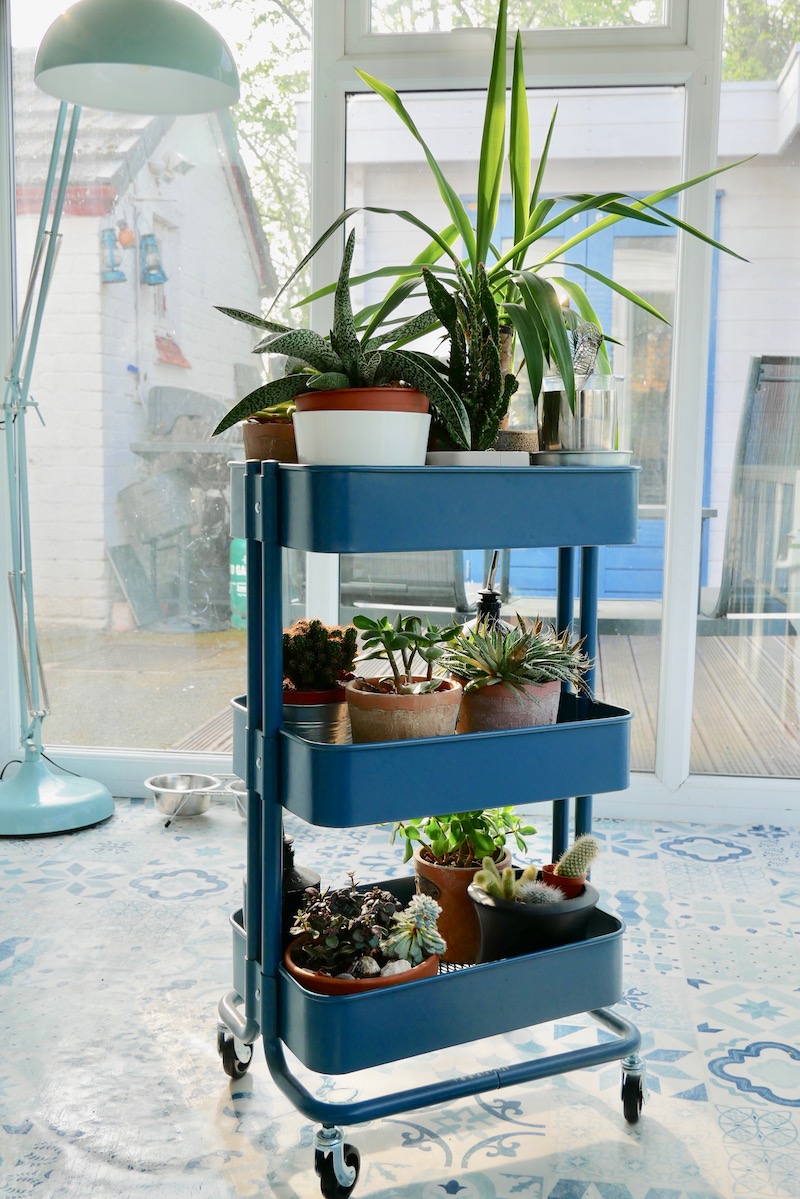
My favourite thing in this room is the plant trolley. We’ve been meaning to get another one and use it as a drinks/cocktail trolley, but as I’m now pregnant I’m not quite so motivated to having a trolley filled with alcohol! It’s the RASKOG trolley from IKEA for £50 and it’s great for plants because you can wheel it outside when you need to water everything. I’d love a full on garden conservatory but this is the closest thing I’m going to get at the moment!
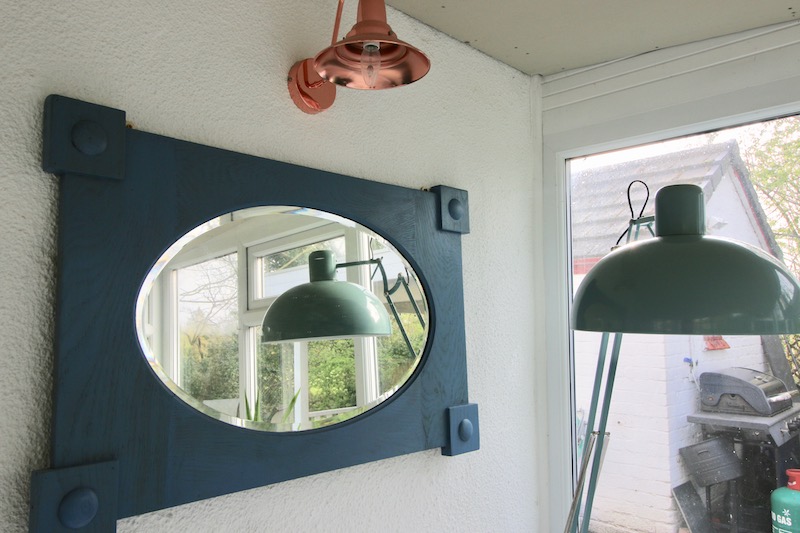
This mirror was bought second hand from an antiques shop called Bryn-Y-Grog Hall – although this definitely isn’t antique and I paid £5 for it. Sam painted it blue using a free chalk paint sample I had at a blogging event.
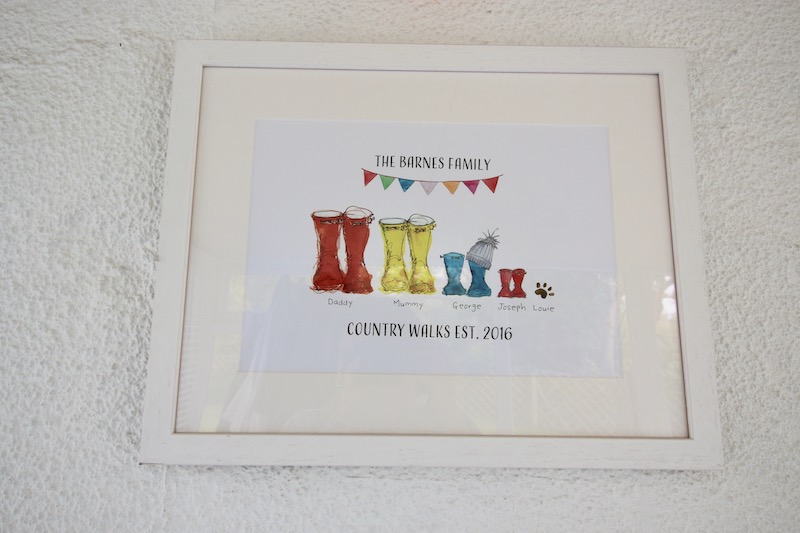
This super cute personalised welly boot painting is from Not on the High Street.
And finally, one of the biggest changes to this room was when Sam added conservatory roof insulation. I didn’t want him to do it because it made the room much darker but you wouldn’t believe how much warmer the whole of the downstairs of the house is now! We still need an thermal curtain between the conservatory and kitchen for really hot days and really cold nights though.
If you’d like to see more of our house renovation project, check out these posts
A look at our house when we first bought it (looking at these pics and I can’t believe we did buy it!)
8 months into the renovation work
